⚠️ IMPORTANT: This feature is only available to users with a director-level access or higher.
Step 1: Access the page

- From the main dashboard, first access the Financials section by clicking on the hamburger menu located at the top-left corner of the screen. See image above.
- Next, click on the “+” button, to expand the Financials section.
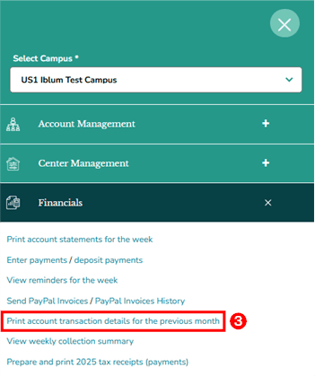
- In the Financials section, click the “Print account transaction details for the previous month” link. This will redirect you to the Print Account Transaction Details page.
Step 2: Navigation
![]()
- Home Button (Top Left): Takes you back to the dashboard.
- Breadcrumb (US1 Iblum Test Campus > Print Account Transaction Details): Shows your current location in the portal.
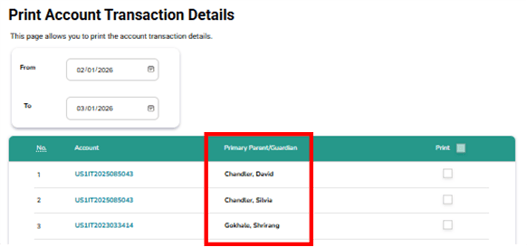
Step 3: Print Account Transaction Details – Overview
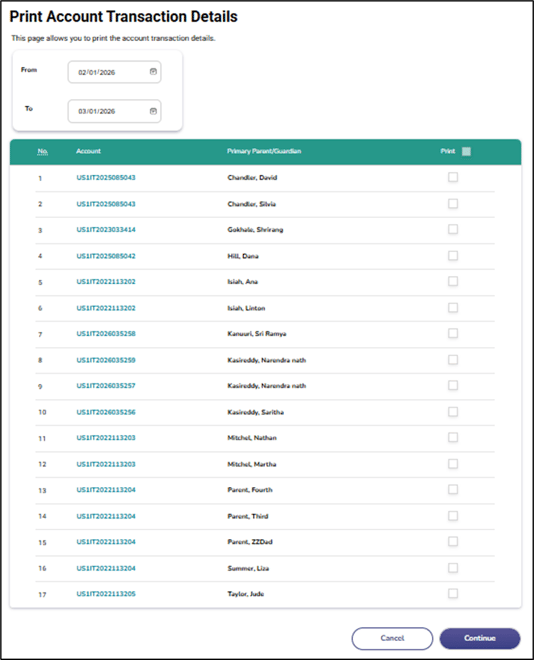
The Print Account Transaction Details page displays the transaction data from the previous month. On this page, you will typically see:
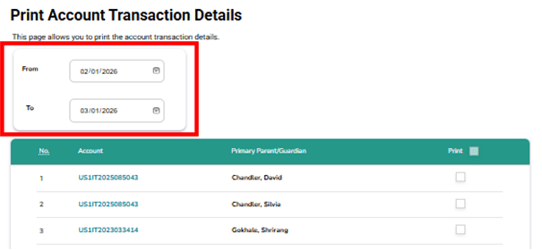
- Transaction date range
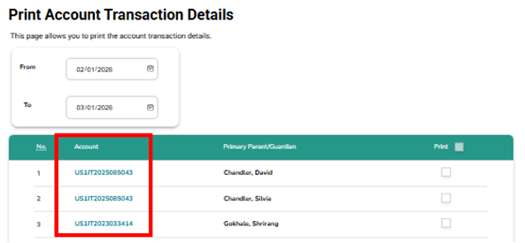
- Account number – You may also click this to access the account details.
- Name of Primary Parent or Guardian
Step 4: Print the Transaction Details
Choose one of the following Print options:
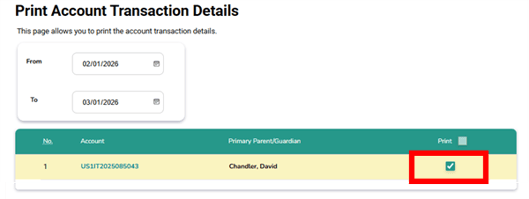
- Print All Accounts – Prints transaction details for all accounts displayed.
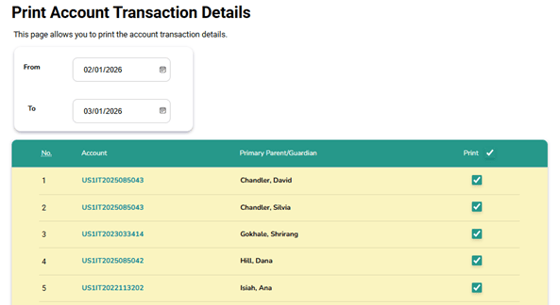
- Print Selected Accounts Only – Allows you to select specific accounts to include in the printout.
Action Buttons
Click Continue to complete the process. Click Cancel to discard any changes made on the page. Returns you to the previous screen without saving modifications.
![]()
Review the transaction information displayed on the Account Transaction Details page to ensure accuracy.
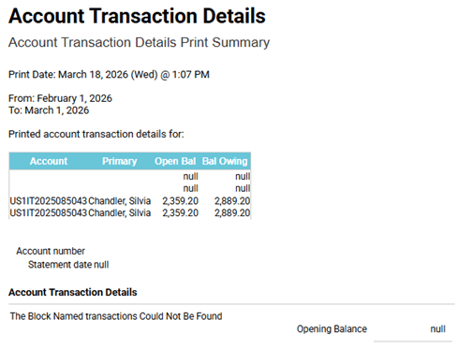
Since the page does not provide a dedicated print button, use your browser’s built-in print options to print the receipt.
💻On Windows:
- Press Ctrl + P on your keyboard, or
- Open your browser menu (⋯) > Print.
🍎On Mac:
- Press Command + P, or
- Use the browser menu > Print.
⚙️Adjust Settings:
- Select Destination Printer (physical printer or “Save as PDF”).
- Choose Layout (Portrait recommended).
- Set Pages to include the full report.
🖨️Click Print to generate the attendance report.
✅ Tip: Use 💾Save as PDF if you want to keep a digital copy before printing.
⚠️ Note:
- Ensure pop-ups are enabled in your browser to allow the print dialog to appear.
- Transactions shown are read-only and cannot be edited from this page.
- If no data appears, confirm that transactions existed for the previous month and that you have the required access level.