
1. Navigate to the Schedule Management Page
-
Log in to the LJ Portal.
-
Click the hamburger menu (☰) to open the Human Resources menu.
-
Select Manage Schedules.
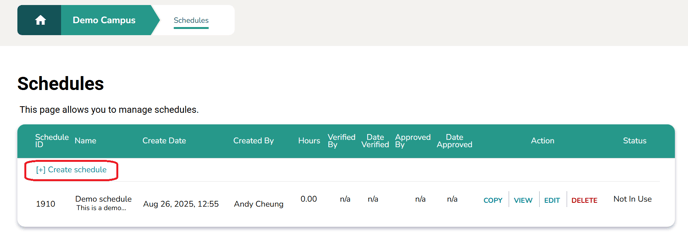
2. Create a New Schedule
On the Schedules page, select Create a Schedule.
-
Enter the following required fields:

-
Title – name of your schedule
-
Type – select Weekly
-
Description – provide details about the schedule
-
-
Click Create to proceed.
3. Edit the Schedule
You will be redirected to the Edit Schedule page. From here, you can add employees, assign work hours, and manage benefits.

Adding Employees
-
Open the Employee dropdown menu.
-
Select the employee(s).
-
Click Add Employee.
- You should see the employee added into the schedule under the Schedule Details input form.

Adding Hours
-
Check off the days for each employee you want to assign hours to.

-
From the dropdown menus, select:
-
Work Hours – choose the role
-
Room – select location
- Start Time and End Time
-
-
Click Add Work.
- You should see the schedule update with the work hours and time selected.

Adding Benefits
-
Select the following:
-
Benefit Hours Used
-
Hours and Minutes
-
Benefit Hours Code (from dropdown)
-


Removing Items
-
Check the box next to the item(s) you want to remove (an individual time entry or employee).
-
Click Remove.

4. Verifying Schedule
Once you are done making changes to the schedule and want it to be approved to be used as a timesheet, click on the verify button at the top or bottom of the page. Once verified, the schedule cannot be updated. To do so it needs to be re-opened.
Important Notes
- All Changes on the Edit Schedule page are automatically saved.
- You can edit the schedule at any time as long as it has not been approved. Once it is in the approved state no changes can be made to the schedule.